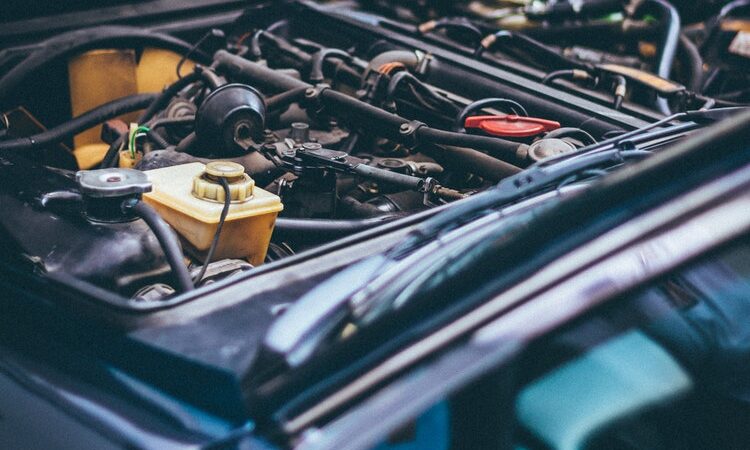
What is a Radiator Overflow Tank and What Does It Do?
The radiator overflow tank along with the radiator cap is responsible for preventing rust formation inside the cooling system as well as recollecting spread coolant that reached its boiling point inside the engine, avoiding permanent evaporation out of the system and bringing it back into the coolant system once it loses enough heat.
The cap at the same time has a thermal spring, that allows the overflow tank to develop a closed cooling system that increases efficiency.
As soon as the coolant reaches both boiling point and under pressure level, the spring starts doing its job by allowing the hot coolant to go right through the overflow tank. By being an under-pressure system, the liquid reaches a higher pre-boiling temperature which enhances the performance of the radiator overflow/cap system.
This closed system offers a big advantage over much older systems that are only powered by a mechanical fan for engine cooling, and in which only low speed driving is supported as they tend to over cool the engines at higher speeds. Nonetheless modern vehicles and mechanical engines use both the electric fan and a closed cooling system to reach a peak performance.
Maintenance
Keep in mind that even in the best-case scenario, environmental damage is bound to happen. Coolant systems tend to get rusty overtime because of the nature of the coolant and the radiator system, as a result rust starts forming inside the cooling system due to the air that gets inside the radiator, once the engine has been turned-off and the temperature decreases.
This happens because the coolant contracts its volume when the temperature drops. This also causes a decrease in both pressure and temperature on the radiator, which enables air entry, leading to rust formation when it touches the metal of the system.
It is important that once you detect rust inside your cooling system to have the following precautions:
- flush out the system
- replace the coolant
Even though a radiator coolant overflow tank can prevent this from happening, it is important to inspect the system every now and then to avoid excessive spending on coolant supplies.
Though being a highly efficient system, radiator overflow tank can wear with time and stop properly functioning, that’s why it’s important to keep an eye on the following symptoms:
-
- Increase in coolant expenses due to coolant running out very quickly
- Coolant smell that can go up to the vehicle’s inside
- Coolant leaks due to cracks or holes in the tank
- Engine overheating and fumes coming out of the engine
- Rust starts forming more frequently with ease
- Increase in coolant expenses due to coolant running out very quickly
However, an immediate visit to your professional mechanic is recommended as these symptoms might as well be caused by some other failing component of the vehicle, therefore a highly accurate proper diagnosis is needed to address this issue correctly.
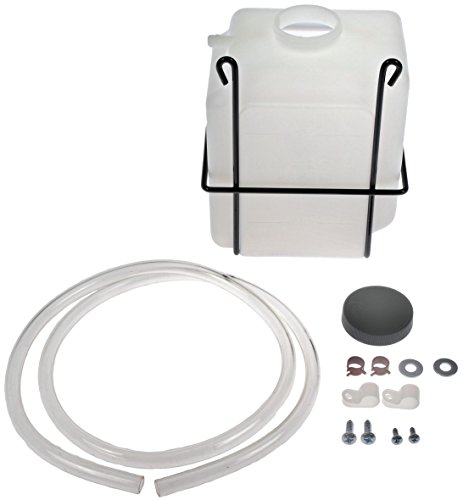
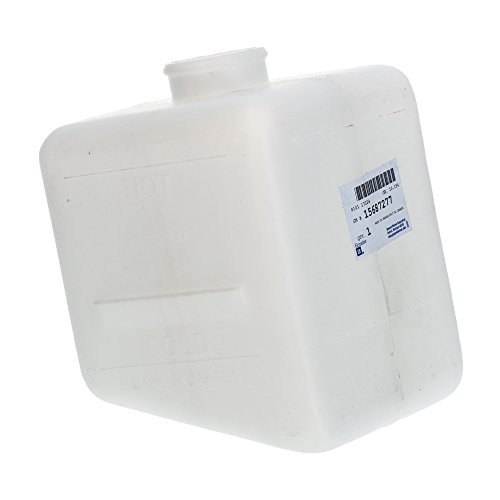
In case a faulty radiator overflow tank gets properly diagnosed a replacement process will be required. Keep in mind that the location of the overflow tank varies from vehicle to vehicle, that’s why the service manual is required for proper location and proper removal.
The replacement process consists of:
-
- Preparing the vehicle and correctly locating the overflow tank
- Clean any rusted bolts with a penetrating oil and water-displacing spray
- Removing the bolts that keep the overflow tank in place with the engine compartment
- Removing both of the top hoses and releasing the clamps that attach them
- Removing the hoses from the reservoir tank fittings
- Taking apart the coolant hose located at the bottom
- Removing the hoses from the fitting located at the bottom
- Remove rear clip from coolant reservoir. On most coolant reservoirs, there will be a clip that secures the reservoir to the rear of the engine compartment
- Removing the old overflow tank attached to the engine compartment
- Clean the area where the overflow tank is placed
- Installing the new tank. Connections and hose fittings must be identical
- Placing back the bottom hose and fill with new coolant and put the clamps back in
- Placing both top hoses back in
- Attach the new tank into the clamp fitting
- Securing the tank with the bolts
- Follow these guidelines but ensure you fill the reservoir to the top of the full indicator line before attempting to start the vehicle
- Test driving the vehicle
If you happen to have more doubts please visit our website for more information.